How to create a user journey map in Miro
Learn how to create a user journey map in Miro with ready-made templates, stages, emotions, sticky notes, and shareable collaborative boards.
Quick answer
To create a user journey map in Miro, open a new board, then add the Customer Journey Map template from the template library. Fill in stages, touchpoints, actions, emotions, and pain points using sticky notes and shapes, then invite teammates to collaborate, comment, and refine the map together in real time.
Steps at a glance
- Open Miro and create a new board or select a template.
- Search "Customer Journey Map" in the template library and open it.
- Add journey stages across the top of the board.
- List touchpoints, actions, and emotions under each stage with sticky notes.
- Customize colors, icons, and shapes to highlight pain points.
- Invite team members to comment and edit the map.
- Share or present the finished journey map to stakeholders.
Summary
A user journey map in Miro is a visual board that lays out every stage, touchpoint, and emotion a customer experiences with your product or service. It helps teams spot friction points, align on priorities, and turn research into actionable improvements. Miro's templates and infinite canvas make it easy to build, edit, and share these maps with anyone on your team.
Step-by-step guide
Step 1
Start a new board or open an existing one
Log into Miro and click "Create new board" from your dashboard, or open an existing board where you want to build the map. If you'd rather start with a blank canvas, set up the board first, then return here to add your journey map content.
Step 2
Choose the Customer Journey Map template
Click the "Templates" icon in the left sidebar, then type "Customer Journey Map" into the search bar. Select a template that matches your use case (B2B, B2C, service, etc.) and click "Use template" to add it to your board. The template arrives pre-built with a timeline, stage headers, and an emotion tracker row you can customize.
Step 3
Define your journey stages
Rename the placeholder columns at the top of the template to match your customer's actual stages, such as "Awareness," "Consideration," "Onboarding," and "Renewal." Drag the column dividers to add or remove stages as needed, keeping the flow left-to-right in chronological order.
Step 4
Add touchpoints, actions, and emotions with sticky notes
Click the sticky note icon in the toolbar (or press "N") to drop a new note under each stage, then type in specific customer actions, thoughts, or touchpoints. For tips on placing and formatting these notes efficiently, see how to add sticky notes to speed up this step. Use the emotion row to plot highs and lows with a connected line or emoji stickers.
Step 5
Organize and align your elements
Select multiple sticky notes or shapes, then use the alignment options in the right-click menu to keep rows and columns even. Group related items together so stakeholders can scan the board quickly without visual clutter.
Step 6
Invite collaborators and set permissions
Click "Share" in the top-right corner, enter teammate emails, and choose whether they can edit or only comment. Toggle sharing settings to keep the board private to your team or restrict access to invited members only, so sensitive customer research stays secure.
Step 7
Present or export the finished map
Once the map is complete, use Miro's presentation mode to walk stakeholders through each stage, or follow the steps to create a presentation directly from your board. You can also export the board as a PDF or image for offline sharing.
Why this matters
You're preparing for a product review and need to show stakeholders exactly where customers get stuck or delighted during onboarding. Building a journey map in Miro lets you visualize each step, flag pain points with your team in real time, and turn scattered research notes into one clear board everyone can act on.
Frequently asked questions
Is Miro free to create a user journey map?
Yes. Miro's free plan lets you build journey maps using templates, add sticky notes, and collaborate with teammates, though some advanced templates or unlimited boards may require a paid plan.
Can I integrate customer data into my Miro journey map?
Yes, you can link files, images, or embed content from apps like Google Drive, and paste links to research docs directly onto the board using the toolbar's embed options.
How many people can collaborate on a journey map at once?
Miro supports real-time multi-user editing so your whole team can add notes, comment, and adjust the map simultaneously, regardless of plan tier.
Can I turn my journey map into a presentation?
Yes. Use Miro's presentation mode to build a slideshow directly from board frames, which is ideal for walking stakeholders through the journey stage by stage.
Related guides
Continue with more step-by-step guides for getting work done.
 How to add sticky notes in MiroLearn how to add, customize, and organize sticky notes in Miro for brainstorming, retrospectives, and visual planning sessions.
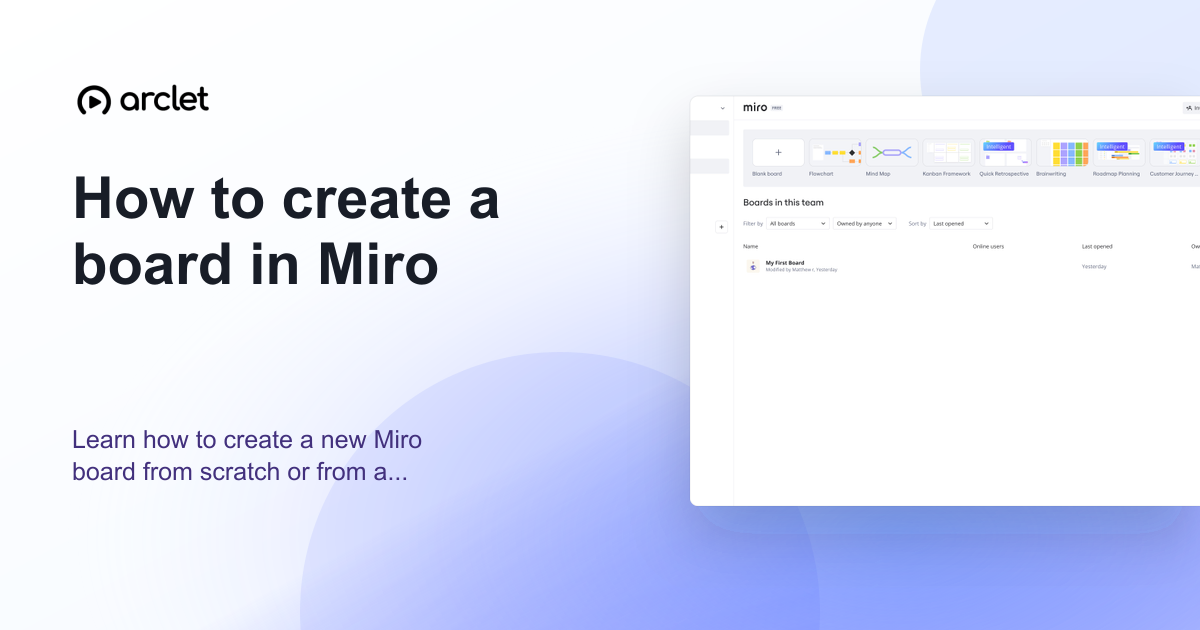 How to create a board in MiroLearn how to create a new Miro board from scratch or from a template — name it, choose a team, and start collaborating instantly.
 How to create a presentation in MiroLearn how to turn a Miro board into a slide-style presentation using frames, and present them directly from your browser.
Create interactive demos like this one — free, no coding required.
Start for free →