Free toolNo signup · No upload · No watermark
Add a screenshot background
A plain capture floats on a white page. Put it on a gradient with padding and a shadow, and it reads as a finished image. It runs in your browser, so nothing is uploaded.
- Paste, drop or pick
- PNG or JPEG at 2×
- Stays in your browser
Try it now
Paste a screenshot. Style it. Export it.
Bring your screenshots to life as an interactive demo, free to get started.
Start for freeHow it works
Put a background behind a screenshot
A plain capture floats on a white page. Put it on a gradient with padding and a shadow, and it reads as a finished image. It runs in your browser, so nothing is uploaded.
Step 1
Add the screenshot
Paste with Ctrl+V (⌘V on a Mac), drop a file, or choose one. It opens with a coral gradient, 96 px of padding, rounded corners and a strong shadow.
Step 2
Pick the background and the space around it
Choose one of five gradients or a solid color, then set the padding, corner radius and shadow. Choose No background for a transparent PNG.
Step 3
Set the shape for where it goes
Keep Auto size, or choose 16:9 for slides, 1:1 for square posts, or 1200×630 for link previews. Then download a PNG or JPEG.
Before and after
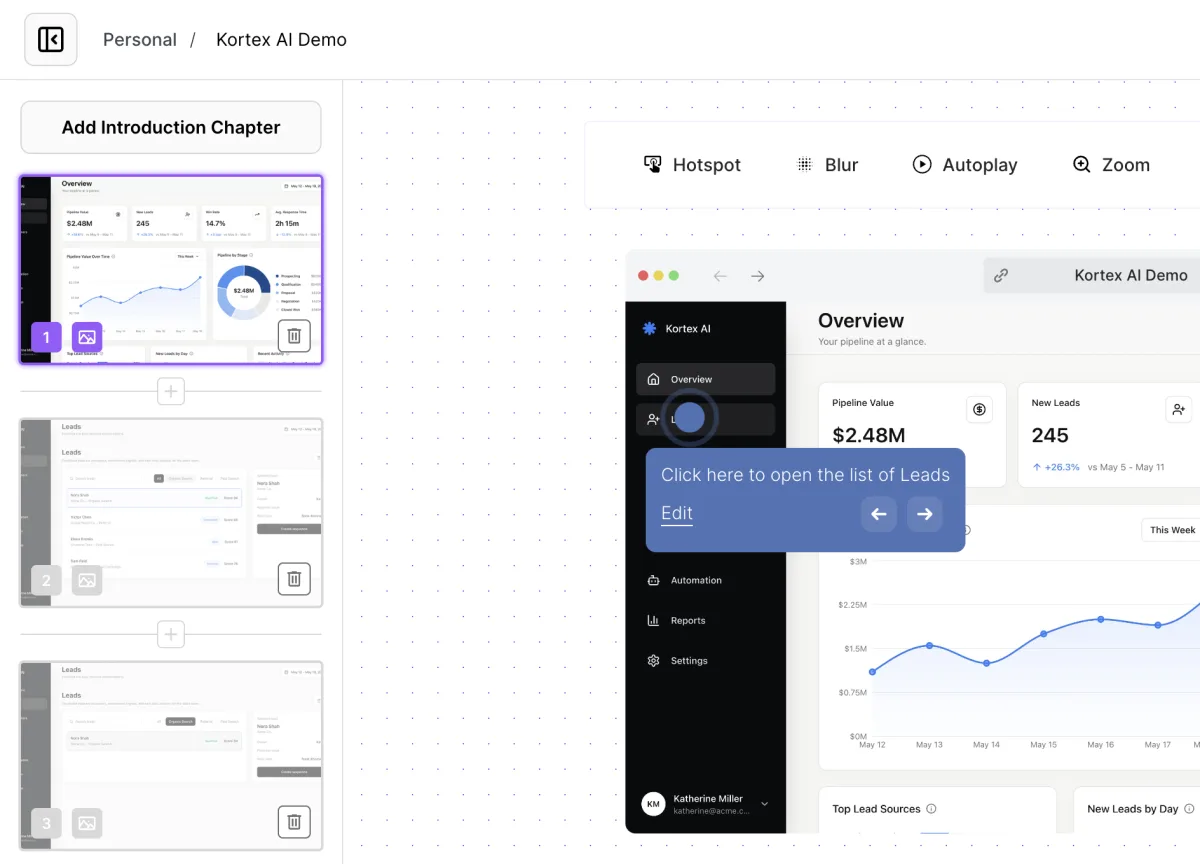
The same capture with padding, rounded corners and a gradient behind it, ready for a slide or a post.
Choosing a screenshot background
What the background is for
A screenshot of a white interface on a white slide has no edge, so the reader cannot tell where the product stops. A background gives it one. Padding gives the eye room, and a shadow lifts the capture off the color behind it.
You make three choices: the color, the amount of space, and the shape of the whole image. The shape depends on where the image will be used.
Padding and shape by destination
Padding in this editor is measured in pixels of your original screenshot, from 0 to 128. A 2880-pixel Retina capture needs about twice the padding of a 1440-pixel one to look the same, so judge it on screen rather than by the number.
The shape of the canvas matters more than the padding. These are starting points we use, not platform rules.
| Destination | Canvas | Padding on a 1440 px capture | Why |
|---|---|---|---|
| Slide | 16:9 | 64 to 96 px | A wide capture fills a 16:9 slide, so a small margin keeps it large enough to read from the back of a room. |
| Square social post | 1:1 | 96 to 128 px | A 1:1 canvas adds space above and below a wide capture, so more padding makes the image look planned rather than stretched. |
| Link preview | 1200×630 | 48 to 64 px | The canvas is wide and short, so extra padding shrinks the product quickly. |
| Docs and blog posts | Auto size | 48 to 96 px | The image is only as large as the capture plus its padding, which keeps the file small. |
Feeds that favor portrait images
Choose the 4:5 canvas for a portrait feed post, or 9:16 for a story. The canvas grows around the screenshot, so a wide capture leaves a lot of background: crop it to the part that matters first and it fills more of the frame.
If the platform insists on an exact ratio, check the preview there before you publish. We do not publish a figure for any feed here.
Contrast: how to choose the color
Pick a background that differs from the edges of your screenshot. A light interface separates well from the deeper purple, blue or violet gradients. A dark-mode capture stands out better on the lighter coral or teal gradients.
The shadow does the rest. Soft suits a gradient that already contrasts well. Strong helps when the capture's edge and the background are close in brightness. Choose None only if you want a flat look.
If the gradient competes with the screenshot, use a solid color from the picker. A single muted color usually keeps attention on the product.
Corners, frame and transparency
Radius runs from 0 to 32 px. Around 16 px suits most interfaces, and 0 suits a capture that already has its own rounded window. If the capture has no visible edge at the top, add a browser frame instead of a background alone.
No background exports a transparent PNG, so you can place the image over your own slide color. JPEG has no transparency and fills that area with white.
Check before you export
Zoom to 100% and read the smallest text in the capture. If it is hard to read here, it will be harder in a slide. Crop the screenshot to the part that matters with the Crop tool, since more padding never makes a small interface bigger.
Download at 2× for sharp results on high-density screens, or 1× for a smaller file.
Frequently asked questions
Everything you need to know to get started today.
Screenshots show a moment. Demos show the whole flow.
Record a workflow once in your browser and share a demo people can click through.